EzAuto Wrap
2. clean the surface with any glass cleaning product and allow to dry.
3. Spray the window with a solution of soap and water. Feel free to experiment with the amount of soap in the water, but a small amount should do. This allows for greater ease when positioning the film.
4. Start from a corner, peel off the protective backing paper away, exposing the self-adhesive backing.
5. Apply the film to the window surface from the top corner at either side and use a hand squeegee to push the liquid solution and any air bubbles out. Work from side to side, gradually moving dowards for the best results. Wipe away any excess water.
6. When the window surface is covered to your satisfaction, use an exact'o knife or other precision cutting blade to trim the excess material around the edge.
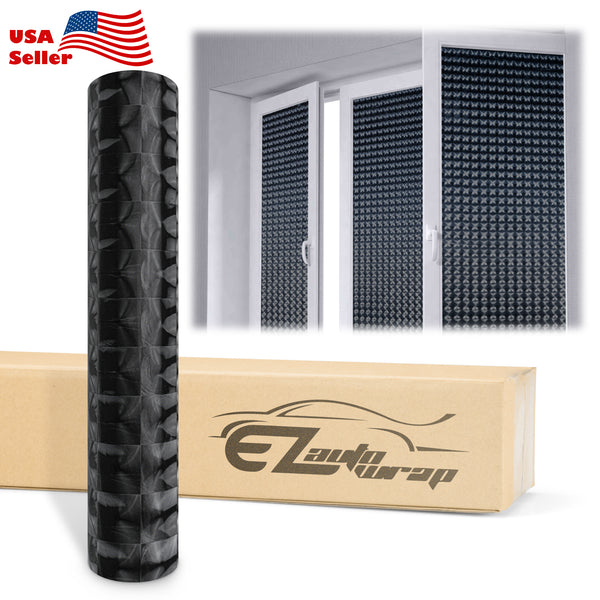
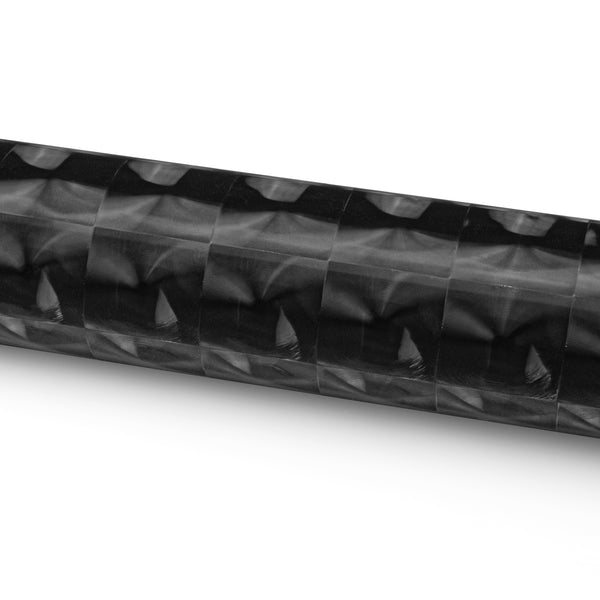
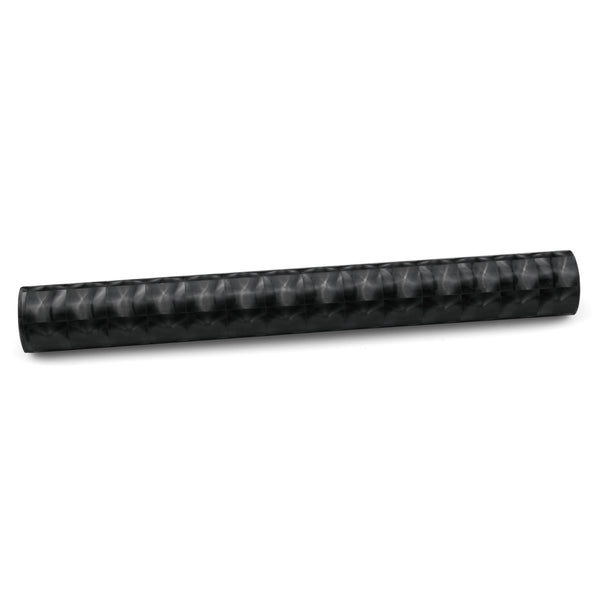
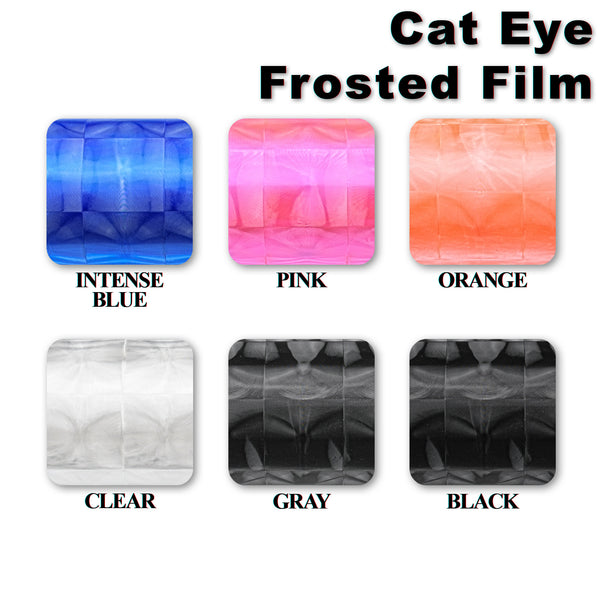
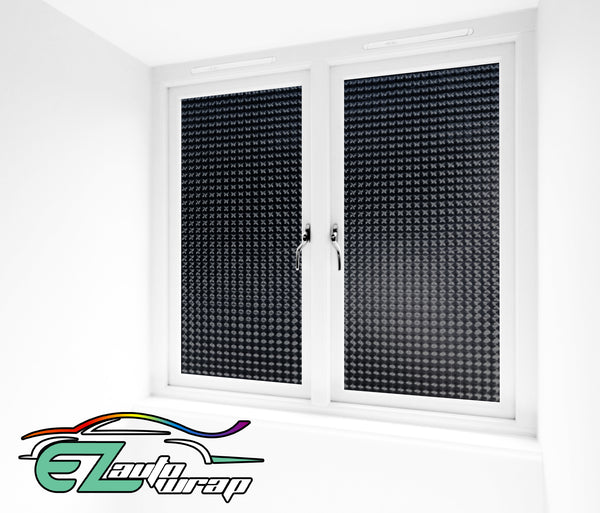
Frosted Film Cat Eye Style Black Glass Window
Regular price
$4.99
Description
- New Frosted Window Films offer style, security and simplicity, all in one.
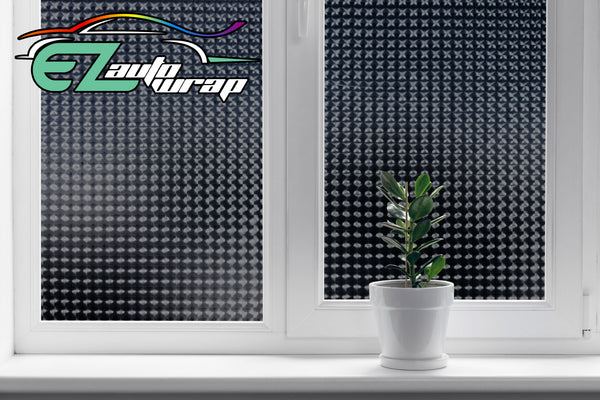
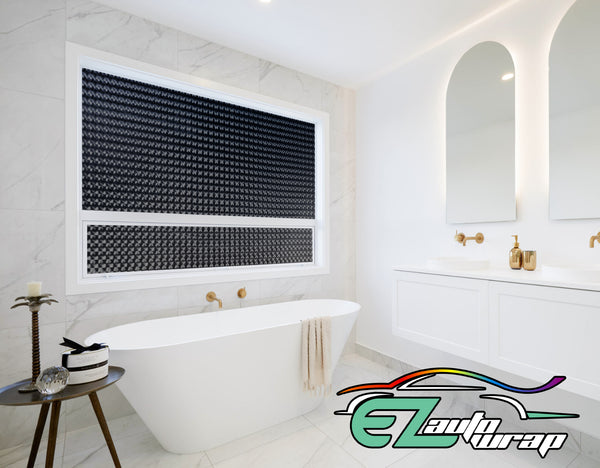
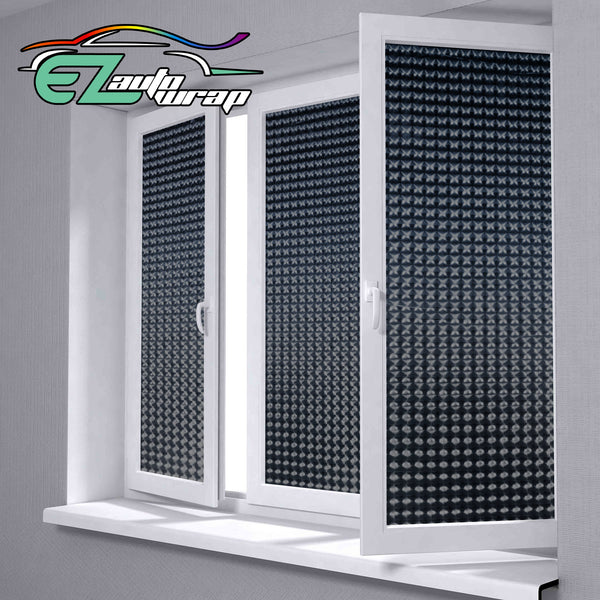
- Able to easily apply to any smooth surface, interior or exterior. Perfect for bathrooms, bedrooms, kitchens, shower screens, partitions, sliding doors, offices, cupboards, etc.
- Obscures transparency from long distances up to few inches from the surface, but still permits almost all natural light to shine through.
- Made with special slide-able, air release adhesive. Can be re-positioned, adjusted and removed with ease and all with no residue and no messy applicator fluids.
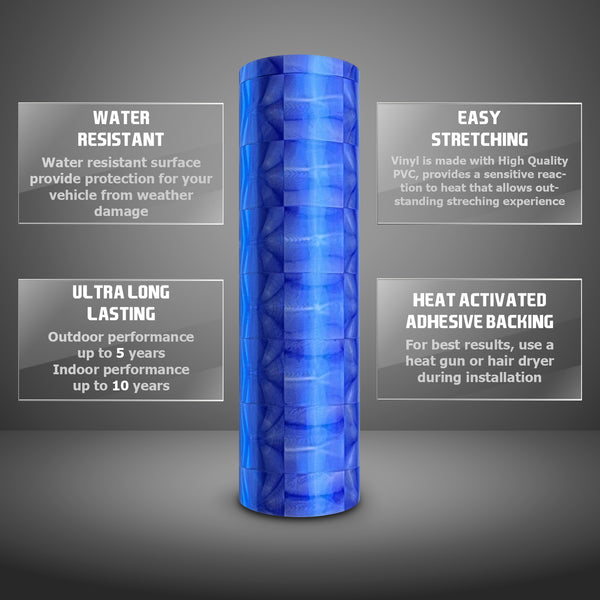
- Waterproof, scratch resistant and will last up to 10 years in your home, 7 years outdoors.
- Easy enough for anyone to install
- Film colors can vary slightly from roll to roll. For the most consistency, please purchase a full roll at once. We are unable to guarantee consistency with multiple orders of cut yardage.
Installation instruction:
1. Cut the film to the size of the window plus about 2cm of extra width and height.2. clean the surface with any glass cleaning product and allow to dry.
3. Spray the window with a solution of soap and water. Feel free to experiment with the amount of soap in the water, but a small amount should do. This allows for greater ease when positioning the film.
4. Start from a corner, peel off the protective backing paper away, exposing the self-adhesive backing.
5. Apply the film to the window surface from the top corner at either side and use a hand squeegee to push the liquid solution and any air bubbles out. Work from side to side, gradually moving dowards for the best results. Wipe away any excess water.
6. When the window surface is covered to your satisfaction, use an exact'o knife or other precision cutting blade to trim the excess material around the edge.
Note: Professional installation is always highly recommended
(No instruction included)


